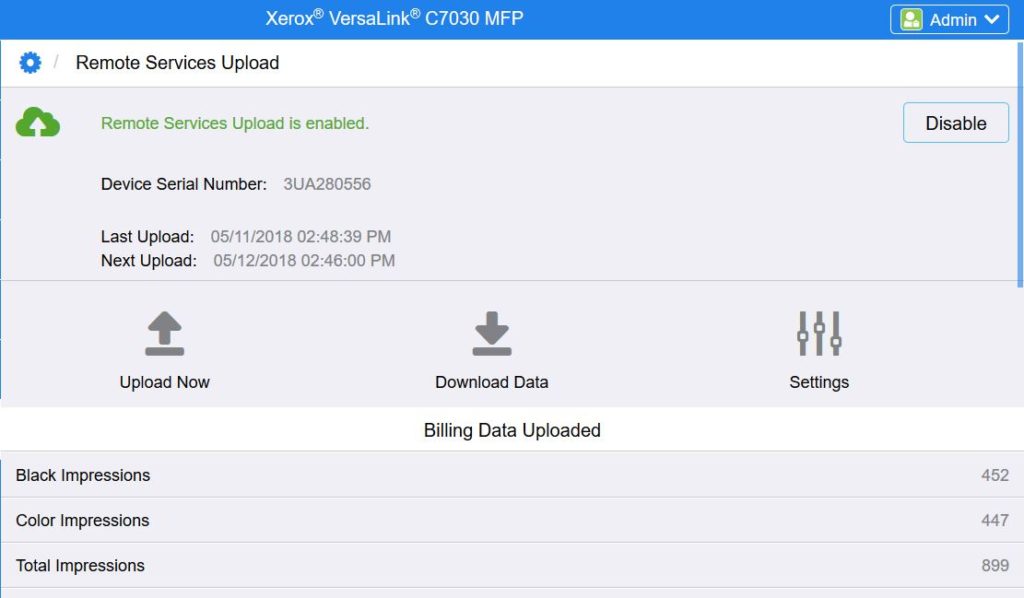
I know many of you are still using your Xerox multifunction printers (MFP) to fax documents. Sometimes you are getting fault codes such as Fault Codes 033-503, 035-701, 133-242: Error occurred during Fax Transmission and other fax codes and messages. Let’s take a look at some of the things to try or check to clear the faults.
First, make sure you are dialing the correct number to reach the receiving fax. You can try dialing the number from a phone and you should hear those lovely beep and squawk fax tones that mean little to us but it is the language of the fax. If you do not hear those tones check the phone number and try again. In addition, you can try a different fax number to see if it is just a problem with that one fax number you are trying. If a different number works and you can send then contact the people at the place of the problem fax number and have them check their fax setup and let them know your fax is unable to send to theirs.
If the number is correct and you are still having trouble connecting unplug the Xerox machine from the phone line and plug in a regular telephone. I hope that you have one you can try. With the regular phone plugged into the line try to make an outbound call to a regular phone number. Is the connection free of static, popping sounds or voids? Are you able to reach the number you dialed? If the answer to these two questions is yes then your phone line is okay. If you answered no to either question contact your phone company or communications person in your office to have them check the phone line.

If you were able to make the call and the line is good make sure it is a dedicated analog line not digital or voice over IP (VOIP). Faxes may fail and/or results may not be consistent with a digital or VOIP lines. Dedicated analog lines are recommended for faxing activity.
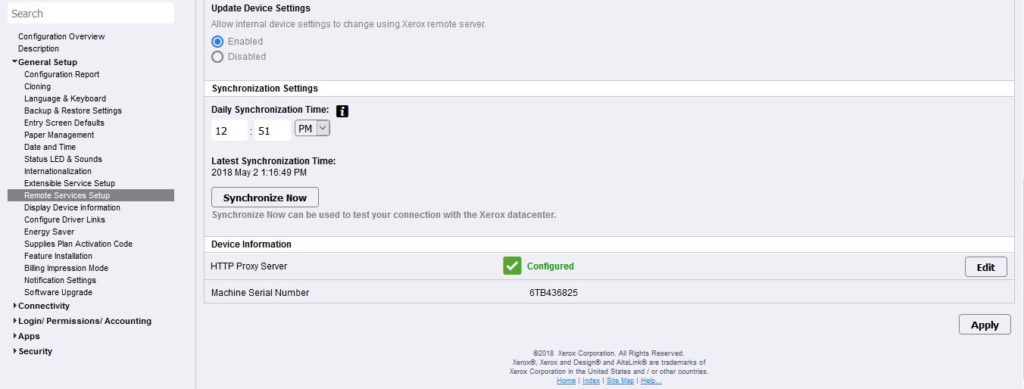
If the fax still fails make sure your machine has been updated to the latest firmware for the machine. If all this checks out and you still cannot send a fax well you can by a stamp and mail the document snail mail! That wouldn’t really help, if it still does not work you can search the support pages for your machine for additional information on any codes or messages you are seeing on your machine or you could contact your local support centre for additional assistance.