Let’s look at using the Xerox Customer Support Forum (XCSF) to your advantage. The XCSF is a peer-to-peer forum created so that customers can post questions about their Xerox printers and multifunction devices and share solutions that have worked for them.
Joining the Xerox Customer Support Forum
To post and reply on the XCSF you must be registered which is a simple process that you have already completed if you have a Xerox Online Account. Simply sign on to your account and then navigate to the Forum where you will complete a simple form to sign-up. Once you are registered for the XCSF you can post your questions or help others with their issues by replying to posts.
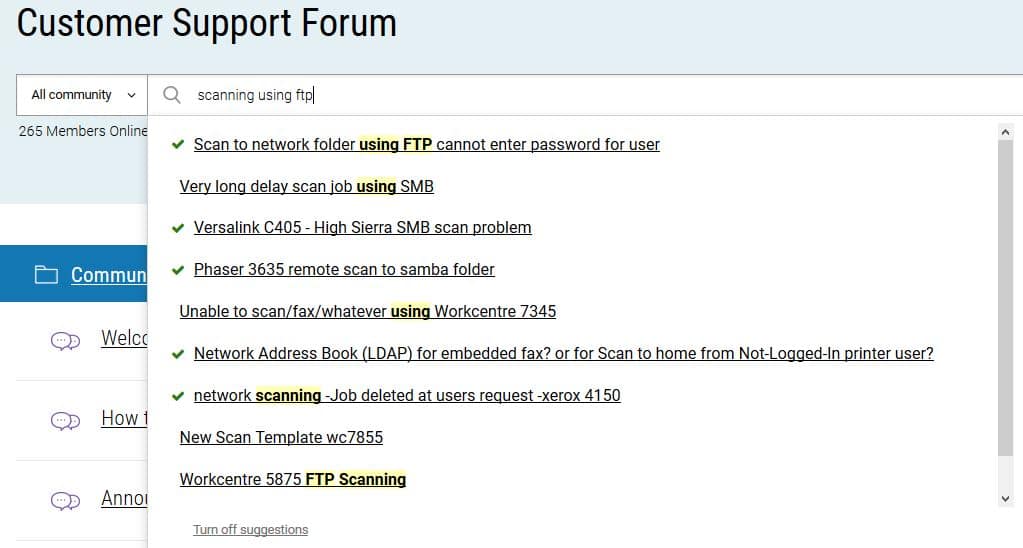
You can search the forum for answers to your questions before you even post a question. The information you need may already be on the forum. If you find a solution that works for you give a Kudo to the person that wrote it up.
If you don’t find what you are looking for write a post.
Writing a Post
Writing a post so others can help you:
- Choose the board that relates to your question or issue.
- Select Post a Question.
- Pick the operating system you are using.
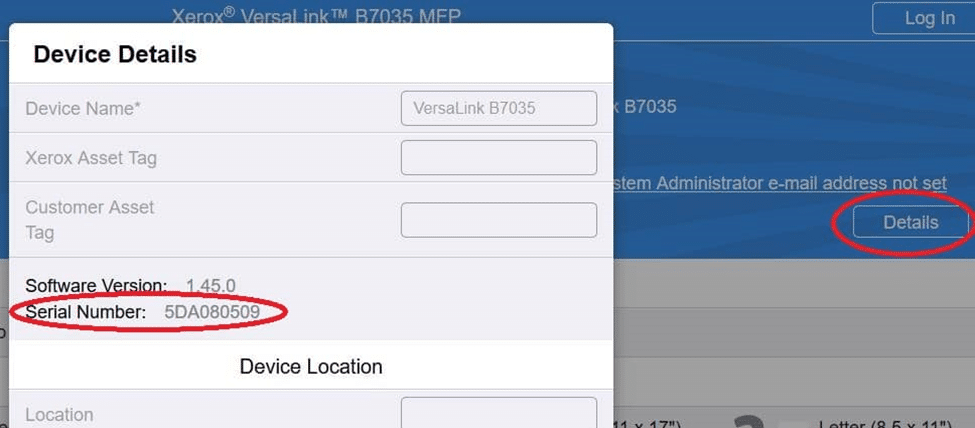
- Make sure to choose your printer model from the drop-down for the product. You can begin typing the name or model number to narrow the choices.
- The title should be a short problem description.
- Your post should contain a thorough problem description, including any error messages and codes. Writing “won’t print” will not give anyone information to help you.
- Provide steps to recreate the error if possible.
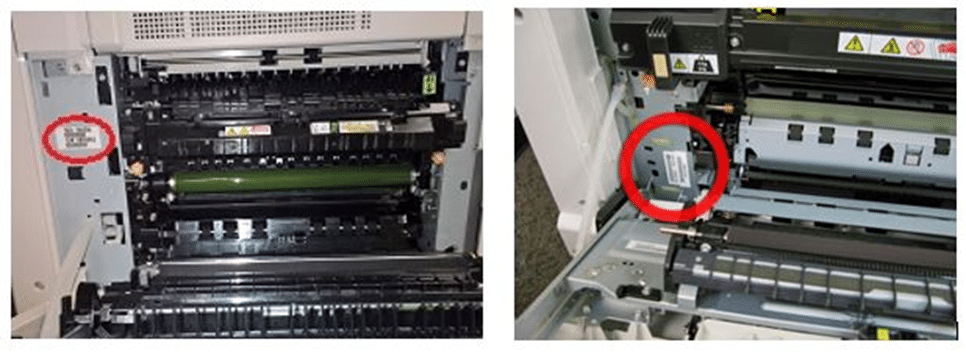
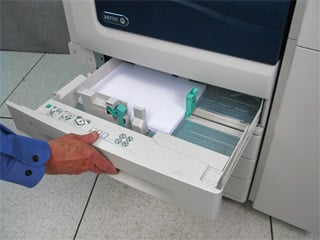
- Include pictures of any helpful information such as image quality issues. You can post a short video too. A video might provide the sounds you are hearing or show where the paper is jamming, for example.
Note: Images and videos are moderated, so they will not display in your post immediately.
Helping Others
While you are in the forum, review the titles of some posts and see if there are any you think you could help with from your experiences. Any little piece of advice or tip is appreciated by your fellow users. If a solution is found or someone posts a solution on your post that works be sure to mark it as a solution. Marking a solution will make it easier for others to find the information in the future.
The more you participate in the XCSF the more stars you will earn. As you earn stars your title in the forum, which displays under your name, will change as you supply more quality information. Valued Advisor is the top rank and makes you a Superuser. As a superuser, your images and videos will no longer be moderated.
If you need additional support, try the Xerox Customer Support Forum and see if it works for you. Sometimes the people using the products daily are best able to provide advice and solutions. Give it a try and be part of the Xerox customer community today.